Balboa GS/GL 6" Molex Heater Cable Adapter (25696)
| Circuit Board Parts | |
| Balboa Water Group | |
| 25696 | |
| 59-138-1155 | |
| M7 Heaters with the male Plug-n-Click Connector |
SHARE & GET $10 FOR EVERY FRIEND WHO JOINS US & MAKES A PURCHASE!


Adapters are often the parts that make a heater connection feel clean and dependable instead of improvised, and this Balboa GS GL 6 inch Molex Heater Cable Adapter is designed for compatible systems where the original connection path needs to be restored or updated correctly. A small part like this can have a big effect on the confidence of the whole heater-related repair.
The 6 inch length is especially practical because it offers enough reach to ease the connection without creating unnecessary cable bulk or awkward routing. That makes the installation feel more orderly, which can matter a lot inside a packed equipment area.
The GS and GL compatibility helps define where this adapter belongs, and that kind of proper matching matters because heater-to-board connections need to be dependable if the system is going to behave the way it should after service is complete.
Once installed in the right setup, this adapter helps create a cleaner Molex heater connection and supports a more organized, more trustworthy electrical repair overall.
- 6 inch Molex heater cable adapter for compatible GS and GL systems
- Helps restore a clean heater-related connection path
- Useful when original adapters are damaged or missing
- Supports more organized cable routing in tight equipment areas
- Improves confidence in heater-to-system connectivity
Balboa Water Group – Spa Systems, Pumps, Heaters & Control Components |
|
Who is Balboa Water Group?
Balboa Water Group is the world’s largest manufacturer of spa systems, components, and control technology, producing an estimated 70% of all hot tub systems globally. With decades of industry leadership, Balboa is the driving force behind many of the pumps, heaters, control packs, and circuit boards used by top spa brands. Known for innovation, reliability, and engineering excellence, Balboa has become the standard for spa system performance worldwide. What products does Balboa Water Group specialize in?Balboa specializes in complete spa system solutions, including control systems, topside panels, circuit boards, heaters, pumps, sensors, jets, and accessories. Their systems are designed to seamlessly integrate temperature control, water flow, filtration, and lighting. Balboa products are widely used in both new spa manufacturing and replacement parts, making them one of the most commonly sourced brands for hot tub repair and upgrades. Why choose Balboa Water Group parts for your pool or spa?Balboa parts are trusted for their compatibility, durability, and consistent performance across a wide range of spa systems. Because Balboa components are used in the majority of hot tubs on the market, finding compatible replacement parts is easier and more reliable. Their advanced control technology allows precise management of temperature, jet functions, and energy usage, helping extend equipment life while improving the overall spa experience. How do you identify and choose the correct Balboa Water Group part?To select the correct Balboa part, it’s important to match your existing system’s model number, circuit board type, heater configuration, and topside control compatibility. Checking labels on control packs and referencing wiring diagrams or product manuals ensures proper fit and function. Choosing the correct Balboa component helps maintain system efficiency, prevents compatibility issues, and ensures safe operation. Need help finding the right Balboa Water Group part?At Bath & Spa Parts Online, we carry a wide selection of Balboa Water Group pool, spa, and bath parts ready to ship. Can’t find what you need? Contact our Product Specialists at 800-918-9143, use the live chat, or visit our Contact Us page. For installation guides, part diagrams, and troubleshooting resources, visit the Bath & Spa Parts Online Knowledge Base for expert support. |
![Balboa Copper Jumper Heater Strap To Board [EL/VS/GL/GS Series] (30039)](http://www.bathandspaparts.com/cdn/shop/products/59-138-1152_xl_large.jpg?v=1518750495)
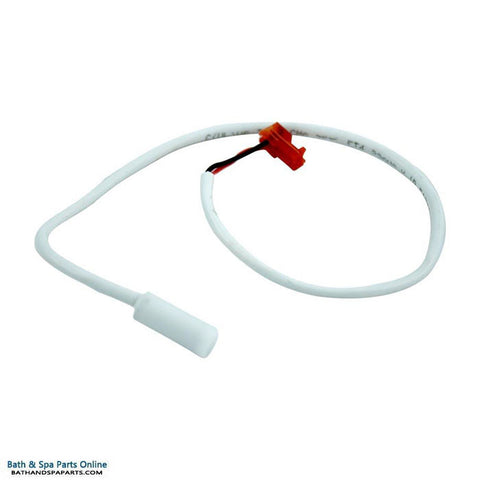
![Balboa Temperature Sensor Cable Assembly [96" x 3/8"] [31" x 1/4"] W/Nut (30637)](http://www.bathandspaparts.com/cdn/shop/products/30367_large.jpg?v=1609822630)


![Balboa Nut 10/32" KEPS Hex Plated [Qty-1] (30114)](http://www.bathandspaparts.com/cdn/shop/products/000625_large.jpg?v=1680531402)